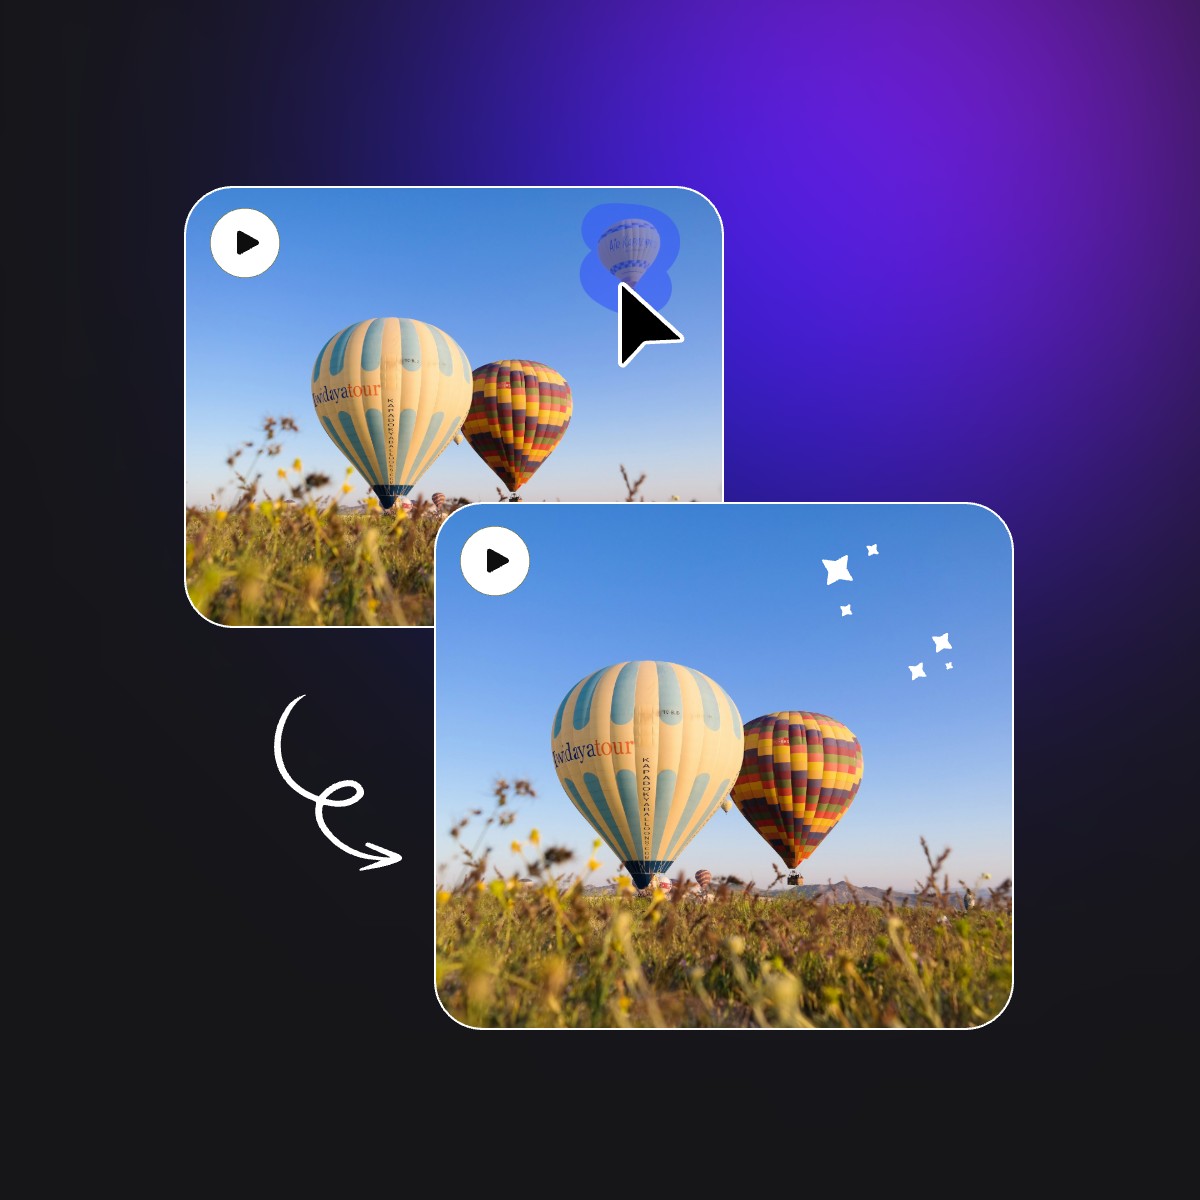
after effects remove object from video

Remove Objects from Video in After Effects

Use masks, tracking, and Content-Aware Fill for detailed control, then compare a separate online method.

Remove Objects from Video in After Effects
Cleanup scenario from our owned mediaremove the object and rebuild the background
One 5-second verified-account trialMP4 or MOV, up to 1080pPrivate uploads and plan-based retention

Quick answer

A common After Effects workflow is to create and track a mask, generate a fill layer, then review lighting and texture. Short clips can also be tested with a prompt-based online tool.

Detailed After Effects guide

How to remove an object from video in After Effects

After Effects Content-Aware Fill can generate content for transparent areas from the current image and surrounding frames. It is commonly used for microphones, poles, passersby, and small distractions. The workflow still requires an accurate mask, tracking, work area setup, and review. Difficult shots may also need reference frames and manual cleanup.

What this guide answers

You are searching for after effects remove object from video and need a complete workflow from masking and tracking through Content-Aware Fill and Fill Layer generation.

Topics covered

After Effects remove object from videoContent-Aware Fill videoremove moving object in AEAfter Effects reference framevideo object cleanup in After Effects

Prepare the project before editing

Organize the shot and delivery requirements before removing an object in Adobe After Effects. Adobe current documentation uses the Content-Aware Fill panel to process transparent video regions. Interface and option names can change, so verify them against the current help page.

Duplicate the project and source

Keep an untouched video and a project copy. Object removal often needs several revisions, and comparison with the source prevents quality loss from repeated exports.

Trim the target range

Process only the continuous shot where the object or person appears, and split at edits. A shorter range reduces tracking, keyframe, and render work.

Find clean background reference

Look before and after the target appearance for an unobstructed view of the same background. Walls, floors, and repeating texture can provide a patch source.

Confirm version and license

Adobe current documentation uses the Content-Aware Fill panel to process transparent video regions. Interface and option names can change, so verify them against the current help page.

Prefer a workflow without a full timeline?

Use the web tool to upload a short clip and describe one person or object in a specific English prompt.

Open the tool

A real processing example

This owned demo shows the source clip and real processed result without presenting it as a page-specific result.

Original video
Processed result

After Effects is built for detailed control

It suits manual adjustment of masks, work areas, fill methods, and reference frames.

Mask and track

Define the target boundary and follow its motion.

Content-Aware Fill

Generate a fill layer from surrounding frame information.

Reference frame cleanup

Use a manually cleaned reference frame for difficult areas.

After Effects workflow

Verify exact menus and settings against the current Adobe version.

Create the target mask

Cover the target and leave suitable edge room for motion.

Track and set the work area

Limit processing to the time range where the target appears.

Generate and review the fill

Inspect texture, lighting, shadows, and edges.

Prompts for the online alternative

The online tool reduces manual masking but does not provide After Effects frame-level control.

remove the object and rebuild the background
remove the old logo in the upper right corner
remove the person crossing behind the subject

Method one: mask the target and create transparency

Place the footage in a composition and draw a mask on a frame where the target outline is clear. Set Mask Mode to Subtract so the target region becomes transparent for Content-Aware Fill. Cover the complete object and leave enough margin for motion blur and changing edges.

Track the mask or adjust Mask Path through the shot so transparency follows the object. Limit the Work Area to the time where the target appears. Review the alpha region on every difficult frame before generating a fill.

Draw the mask on a clear frame
Set Mask Mode to Subtract
Track or correct Mask Path
Limit the Work Area
Review transparency across the shot

Method two: configure Content-Aware Fill and generate a Fill Layer

Open Window > Content-Aware Fill. Select a Fill Method for the shot and set Alpha Expansion so analysis reaches slightly beyond the mask edge. Configure lighting correction when needed, then generate the Fill Layer. After Effects analyzes the work area and creates a new layer for the reconstructed pixels.

Hide mask controls and play the composition. Look for repeated texture, lighting jumps, edge flicker, and warped background lines. If only one section fails, shorten the work area, refine the mask, or generate a separate fill for that range.

Open the Content-Aware Fill panel
Select a Fill Method
Set Alpha Expansion and lighting options
Choose Generate Fill Layer
Play and inspect the generated layer

Method three: create a Reference Frame for difficult detail

When automatic filling cannot interpret unique structure, complex texture, or a permanently covered area, create a Reference Frame from the Content-Aware Fill panel. After Effects sends the frame to Photoshop, where you can paint the intended background and save it back as generation guidance.

A reference frame is not required for every frame. Choose a representative moment where the target and surrounding structure are clear. Large angle, lighting, or perspective changes may require more than one reference or a traditional tracked composite.

Choose a representative difficult frame
Use Create Reference Frame
Paint the intended background in Photoshop
Save and return to After Effects
Generate again and compare

Review frame by frame and in motion before export

Play the result normally in Adobe After Effects, then zoom into the former target area and inspect individual frames. A plausible still does not guarantee stable motion. Edge flicker, patch drift, and repeated texture often become visible only during playback.

Keep resolution and frame rate aligned with the source, and choose an export format that fits the next stage. If color, captions, or compositing still need work, use a high-quality intermediate instead of repeatedly applying heavy delivery compression.

Check the moments the target enters, overlaps, and exits
Confirm that mask edges do not become hard, bright, or discolored
Review shadows, reflections, and motion blur
Compare duration, audio, frame rate, and dimensions after export

Choose the most suitable workflow

Whether you should stay in Adobe After Effects depends on shot complexity, required control, and available editing time.

Adobe After Effects

Best for
Professional shots needing editable masks, work areas, fill methods, reference frames, and compositing control.
Tradeoff
Provides strong control, but analysis, rendering, and frame correction require time.

Prompt-based online removal

Best for
A short shot with one distinct target and a need to test automated reconstruction quickly.
Tradeoff
Easier to start, but returns no editable Fill Layer, mask, or reference frame.

Advanced compositing workflow

Best for
Unique background structure, large occlusion, changing light, and results that need manual guidance.
Tradeoff
Requires Photoshop, compositing experience, and more production time.

Adobe After Effects object removal troubleshooting

Identify whether the problem comes from target selection, tracking, patch source, or export settings before changing the workflow.

Generate Fill Layer is unavailable

Confirm that the layer contains transparency, the Work Area is valid, and the target mask uses Subtract.

The fill texture flickers

Shorten the Work Area, refine the edge, or generate again with a stronger Reference Frame.

Background lines are warped

Automatic inference lacks geometric evidence. Create a manual reference or use planar tracking and a clean plate.

A rim of the object remains

Increase Alpha Expansion or Mask Expansion and review frames with strong motion blur.

Processing is very slow

Limit the Work Area, reduce preview scope, remove irrelevant layers, and split the shot into shorter sections.

Completion checklist

Play the result once at normal speed, then inspect difficult frames before final delivery.

The target is gone for the complete intended time range
The mask, window, or patch follows motion correctly
The main person, product, and essential text remain untouched
Rebuilt color, texture, noise, and perspective match the background
Audio, resolution, frame rate, and duration are correct
A project copy and untouched source video are safely stored

Start with the simplest shot in Adobe After Effects

Begin with a short shot and one clear target, complete one pass with the method above, then decide from the moving result whether online AI or advanced compositing is needed. This gives you a faster answer than building a long keyframe sequence before knowing whether Adobe After Effects fits the shot.

Automation versus manual control

Use After Effects for art direction, reference frames, and compositing control. Use the online tool for a faster first attempt.

Name a specific target

Describe color, position, appearance, and motion instead of using a vague pronoun.

Short clips are steadier

Short footage, stable backgrounds, and limited occlusion usually produce more consistent frames.

Review the result

Check edges, texture, motion, and audio before using the processed video in a final edit.

More editing and technical methods

After Effects removal questions

Does the online tool create an After Effects project?

No. It outputs a processed video file and does not create masks, layers, or a project file.

What does the free trial include?

Create and verify an account to test one clip up to 5 seconds and 50MB. If the encoded duration exceeds the limit by only one frame, the browser trims the clip and processes the first 5.0 seconds. The trial is not unlimited.

Which video files are supported?

ObjectRemover accepts MP4 and MOV up to 1080p and 60fps. Paid plans support files up to 500MB.

How long are files stored?

Sources are deleted 24 hours after a job ends. Results stay for 7, 30, 60, or 90 days by plan.

Can the processed video keep its original audio?

You can choose whether to preserve source audio when submitting the job. Listen to the complete download afterward to confirm duration, sync, and content.

Will processing reduce video quality?

The result must be encoded as a new video. Upload the highest-quality source available and avoid repeated compression or low-quality social-media downloads before processing.

Can I process several targets at once?

You can try, but describing one clear target per pass is usually steadier and makes it easier to identify which target or time range needs another attempt.

What should I do if the first result is not clean?

Trim to one continuous shot and add target color, position, appearance, and motion. If the target overlaps the subject for a long time, use a desktop editor with masks and tracking.

Test an automated result first

Upload a short clip and describe the target before deciding whether manual compositing is needed.

Open the tool